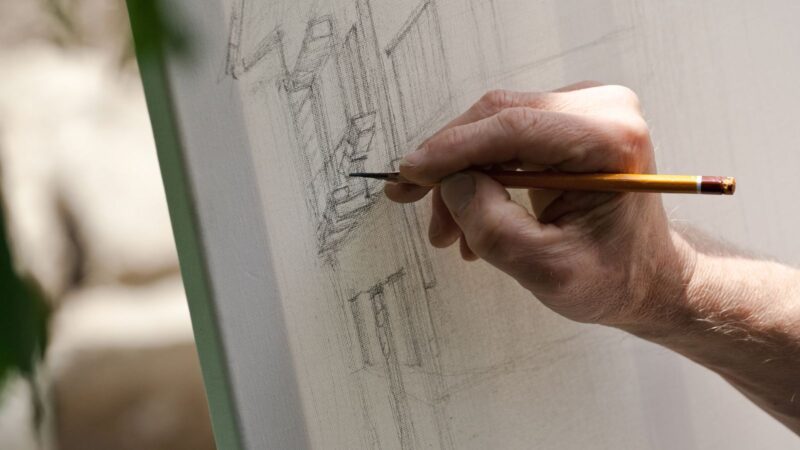
There’s a special charm to a hand-drawn sketch. You can see the pressure of the pencil, the unevenness of an ink line, and the little quirks that give it personality. But once it’s stuck on paper, your options are limited.
Turn that sketch into a digital file, and suddenly you can resize it without losing quality, add color in minutes, or weave it into a completely new design – all without redrawing a single line.
These days, the process isn’t complicated or expensive. A good scan, the right tools, and a clear plan can take you from notebook page to polished digital art without losing the character that made you draw it in the first place. The trick is in the prep and the way you work once it’s on screen.
Start with a Sketch Worth Digitizing
Digitizing won’t magically fix a messy drawing. Before you touch a scanner or camera, give your sketch a quick tune-up. Erase stray pencil marks, tighten shaky lines, and make sure important details are clear.
If you’re working in pencil, a softer, darker pencil shade (like 2B) helps your lines stand out. With ink, let it dry completely so you’re not locking in smudges forever.
Lighting matters even before you open a file. A flatbed scanner is best for consistent results, but if you use a camera, work in bright, even light, and keep the paper perfectly flat. Avoid shadows from your hands or the camera. Spending a few extra minutes on this step will save you hours of editing later.
Pick the Right Way to Go Digital
Once your drawing is ready, you’ve got a few routes. Scanning is the gold standard for accuracy, but a high-resolution photo can capture subtle texture in the paper or brushwork that a scanner sometimes flattens out.
If you want to skip straight to something more polished, try a sketch-to-image tool. These can apply color, enhance lines, or even reimagine your style, giving you a strong head start before you fine-tune the details yourself. It’s a great option when you’re aiming for a faster turnaround without sacrificing style.
Clean It Up and Separate the Pieces

Once the sketch is in the software, start by tidying it up. Zoom in to spot any dust marks, stray specks, or bits of paper texture that slipped in during scanning, and clear them out so the focus stays on the artwork itself.
Then, bump the contrast just enough to make the lines stand out, but stop short of losing the subtler details that give your drawing character.
While you’re at it, set up your layers in a way that will save you headaches later. Keep the background separate, put your main subject on its layer, and break out any key details onto their tracks. That way, you can tweak a color or drop in a new texture without throwing the whole design off.
Add Color, Texture, and Personality
Experimenting with overlays (like subtle paper grain or fabric textures) can give digital art a warmth that’s often missing from purely vector work.
If your art is for branding or promotional work, think strategically about your palette. Designers who understand both marketing and design often use color intentionally to influence mood and viewer behavior. It’s not just about what looks nice, it’s about what works for the message.
Combine with Other Digital Elements
Digitized sketches open up a world of creative options once they’re part of your design library.
They can be paired with photography for a mixed-media style that feels fresh and unexpected, placed over textured backgrounds to create depth, or worked seamlessly into layouts for posters, product packaging, or editorial spreads. Animating them opens even more possibilities.
For business use, original illustration carries a weight that stock imagery often can’t match. It signals intention and uniqueness.
As the future of business highlights, brands are leaning heavily on distinct visual assets to stand out in crowded markets and build long-term recognition. A well-crafted sketch could evolve into a recurring brand motif, appearing everywhere from your product packaging to your seasonal campaigns.
Save in the Formats You’ll Use
When it’s time to export, match the file type to its job. A PNG works well if you need a transparent background for placing over other designs. For fast-loading web images, a compressed JPEG is usually enough. If the plan is to print it large or keep it perfectly sharp, no matter the size, a vector format like SVG is the safest choice.
It’s worth saving more than one version, maybe a high-res print file, a light web-friendly one, and an untouched master you can come back to later. That master file is your safety net when a client wants changes months down the road or you decide to reuse the piece in a different project.


